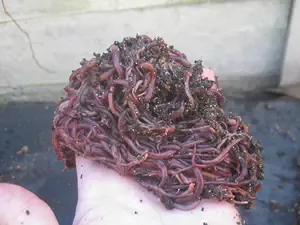
Pot worms and cat poop in a worm bin
by Ryan
(San Diego CA)
Hello,
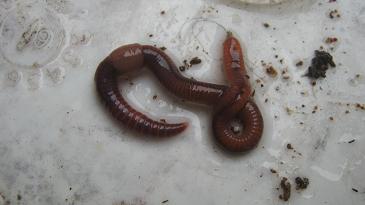
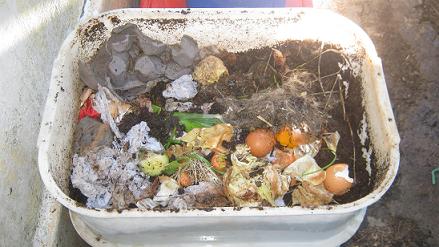
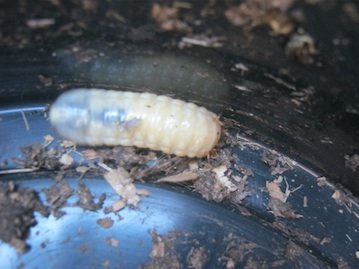
I have been feeding cat poop almost exclusively to my worm bin and have noticed lots of pot worms. Dried it out, added more carbon and even calcium carbonate but no change. The worms seem happy though. Is the poop creating too acidic of an environment?
Thanks,
Ryan
Comments for Pot worms and cat poop in a worm bin
|
||
|
||
$ Money
The Worm Bin Checklist:
"7 Mistakes Killing 90% of Beginner Worm Farms"
[Sign up below to Get Your Free Checklist ]
Recent Articles
-
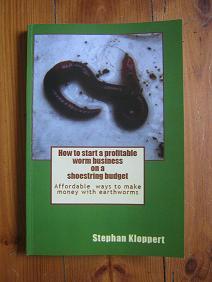
How to Start a Profitable Worm Business on a Budget
May 19, 26 01:30 PM
 Learn how to start a profitable worm farming business with minimal investment. Proven vermicomposting methods from 25+ years of experience. Sell worm castings, worm tea, and bait worms for real income…
 -
Worm composting Advice?
May 08, 26 03:36 AM
Hi, Just checking if you're still around? I've been growing a thriving worm farm and need some advice. Thanks, Rezah -
how to start worm composting at home
Apr 29, 26 09:21 AM
 Learn how to start worm composting at home with this complete beginner’s guide. Step-by-step setup for a worm bin, best bedding, feeding tips, troubleshooting, and harvesting worm castings for superio…
Search / Suchen
On SPECIAL
"How to start a profitable worm business on a shoestring budget
Order a printed copy from "Amazon" for only
or a digital version from the "Kindle" store for only
$4.99
Prices valid till 31.05.2026
Our New Book
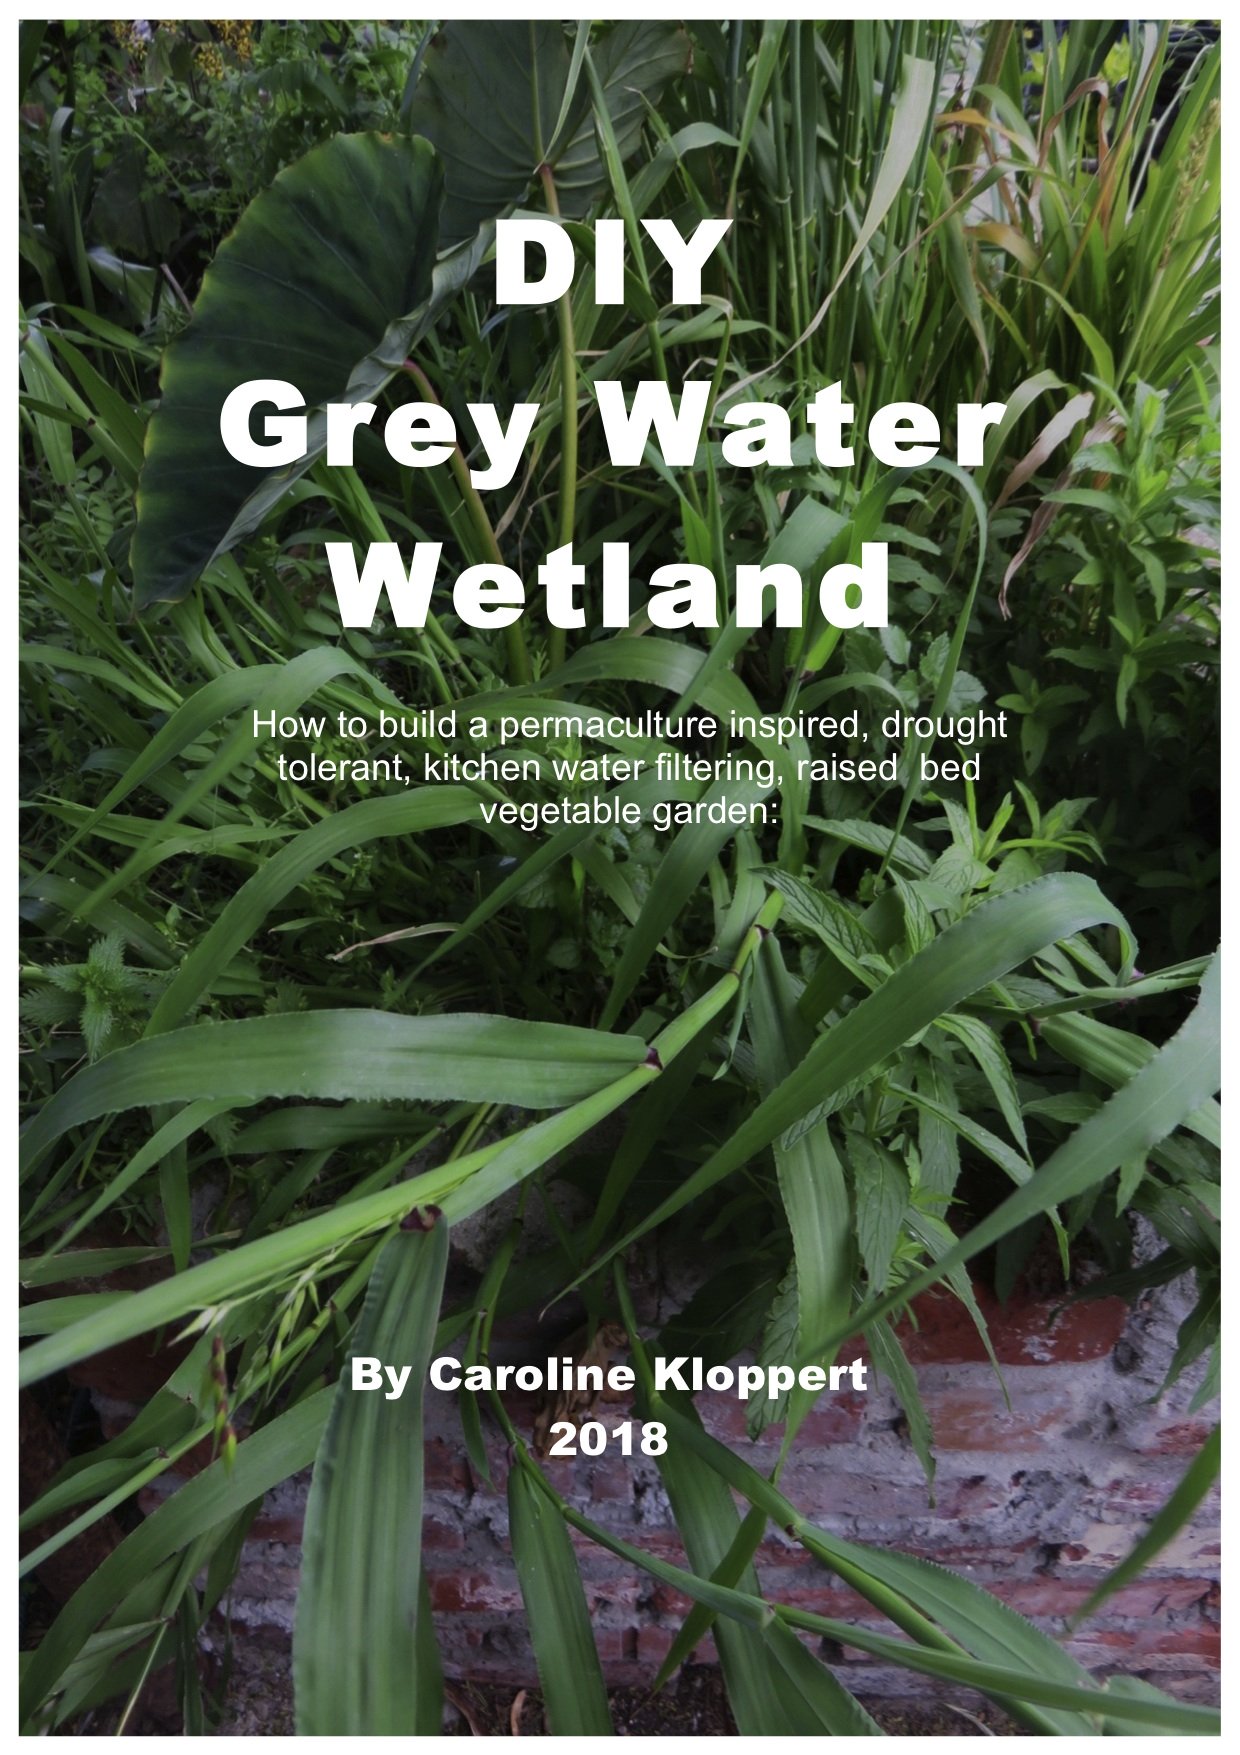
Order the Kindle E-book for the SPECIAL PRICE of only
$5.95
Prices valid till 31.05.2026!