How to build a "Budget worm farm"
Building a budget worm farm is really easy and can be done in less than 3 minutes… Well that is about my record time so far…but I am sure it can be done even quicker.
It all depends on your expectations of the worm bin you would like to own! If it is your goal to keep the cost of your worm bin as low as possible then have a look at my hanging bag worm farms.
While the hanging bags are extremely low cost worm farms they will probably fall short on durability, looks and maybe size. My wife for one is not really a great fan of worm bags in a tree! Her being an artist might have something to do with it.
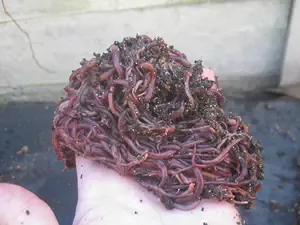
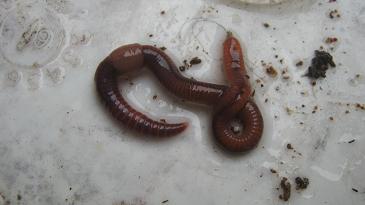
But the earthworms themselves are really not fussy at all and will gladly live in any kind of worm farm as long as their needs are met.
The ultimate Budget worm farm

There are so many kinds of containers you can use to build a
worm farm.
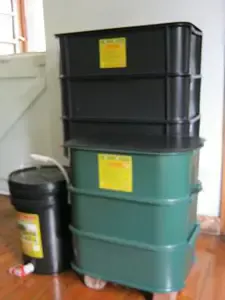
There is probably a good chance that you have your future budget worm farm already somewhere in your home, garden or garage.

An old plastic bucket, bin or container will make an excellent budget worm farm.
So have a look around and see if you find yourself a suitable container. The bucket, bin or container should be at least 20 liter / 5.284 gallons in size.
Note that the larger the surface area of your container the more earthworms will your budget worm farm be able to hold.
Once you got your container just follow the simple construction manual below and build your budget worm farm in no time!
All you will need are the following:
- ·A Power drill
- · A 6 mm /0.23 inches drill bit
- ·Jigsaw or strong scissors (optional)
- ·1 plastic bin, bucket or container
- ·1 lid optional
- Plastic bag or sheet
----------

Turn your container upside down and drill an ample amount of 6mm / 0.23 inches into the bottom of your container bin or bucket. (See picture above)

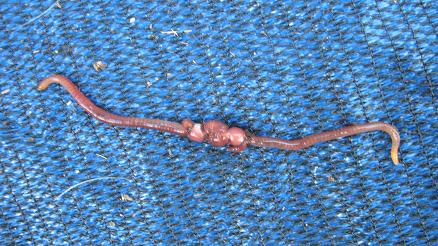
Make sure you drill a sufficient amount of holes into your worm bin. Your Earthworms survival might depend on it.
Earthworms breath through their skin and can drown if their environment gets flooded.
Next you need to find a nice spot for your worm farm.
A shady place is usually advisable.
----------
-----------
This can protect your worms from getting cooked in the sun on a very hot day! A place under a tree is normally a good spot!
Now you are basically done already! It's that simple!
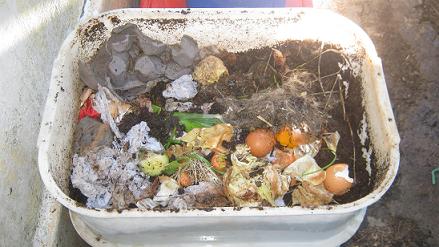
Add your worm bedding, your earthworms, some worm food and cover the food with a plastic bag or sheet.
That will keep the moisture levels high inside the worm bin and act as a natural barrier against predators.
A lid is not necessary but if you want to add a lid to your worm farm just find a suitable plastic sheet or wooden board.
Cut it to size and place it on top of your bin.
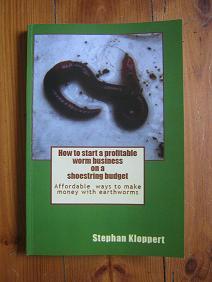
If you want to make living with your earthworm farming project than you can obviously build much neater worm bins for your future clients. I deal with that in my e book "Starting a worm farming business on a shoestring budget" which should be available here before
the end of the year. But if you only want to keep the costs low and just recycle your kitchen- and garden waste at home than using a worm farm like those above will be perfectly fine and will be doing the job!
----------
To find out what else you need to start your worm farm click here.
----------
Click here to find out how to set up and maintain your worm bin!
---------
To go from “Budget worm farm” to the “Home Page” click here!
---------
More info about cheap worm farms
--------
For questions or suggestions please contact us!
Lesen sie diese Seite auf Deutsch!


Free checklist: 7 mistakes killing 90% of beginner worm farms
- ✓Why worms disappear
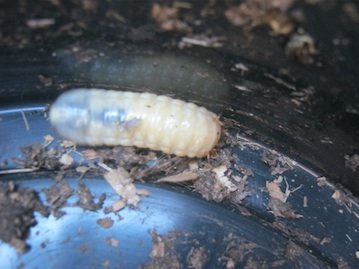
- ✓How to stop maggots
- ✓Fix bad smells fast
Trusted by worm farmers in over 40 countries.
Free, practical, no spam. Unsubscribe any time.
Recent Articles
-
How to Start a Profitable Worm Business on a Budget
May 19, 26 01:30 PM
 Learn how to start a profitable worm farming business with minimal investment. Proven vermicomposting methods from 25+ years of experience. Sell worm castings, worm tea, and bait worms for real income…
 -
Worm composting Advice?
May 08, 26 03:36 AM
Hi, Just checking if you're still around? I've been growing a thriving worm farm and need some advice. Thanks, Rezah -
how to start worm composting at home
Apr 29, 26 09:21 AM
 Learn how to start worm composting at home with this complete beginner’s guide. Step-by-step setup for a worm bin, best bedding, feeding tips, troubleshooting, and harvesting worm castings for superio…
Search / Suchen
On SPECIAL
"How to start a profitable worm business on a shoestring budget
Order a printed copy from "Amazon" for only
or a digital version from the "Kindle" store for only
$4.99
Prices valid till 30.06.2026
Our New Book
Order the Kindle E-book for the SPECIAL PRICE of only
$4.95
Prices valid till 30.06.2026!
