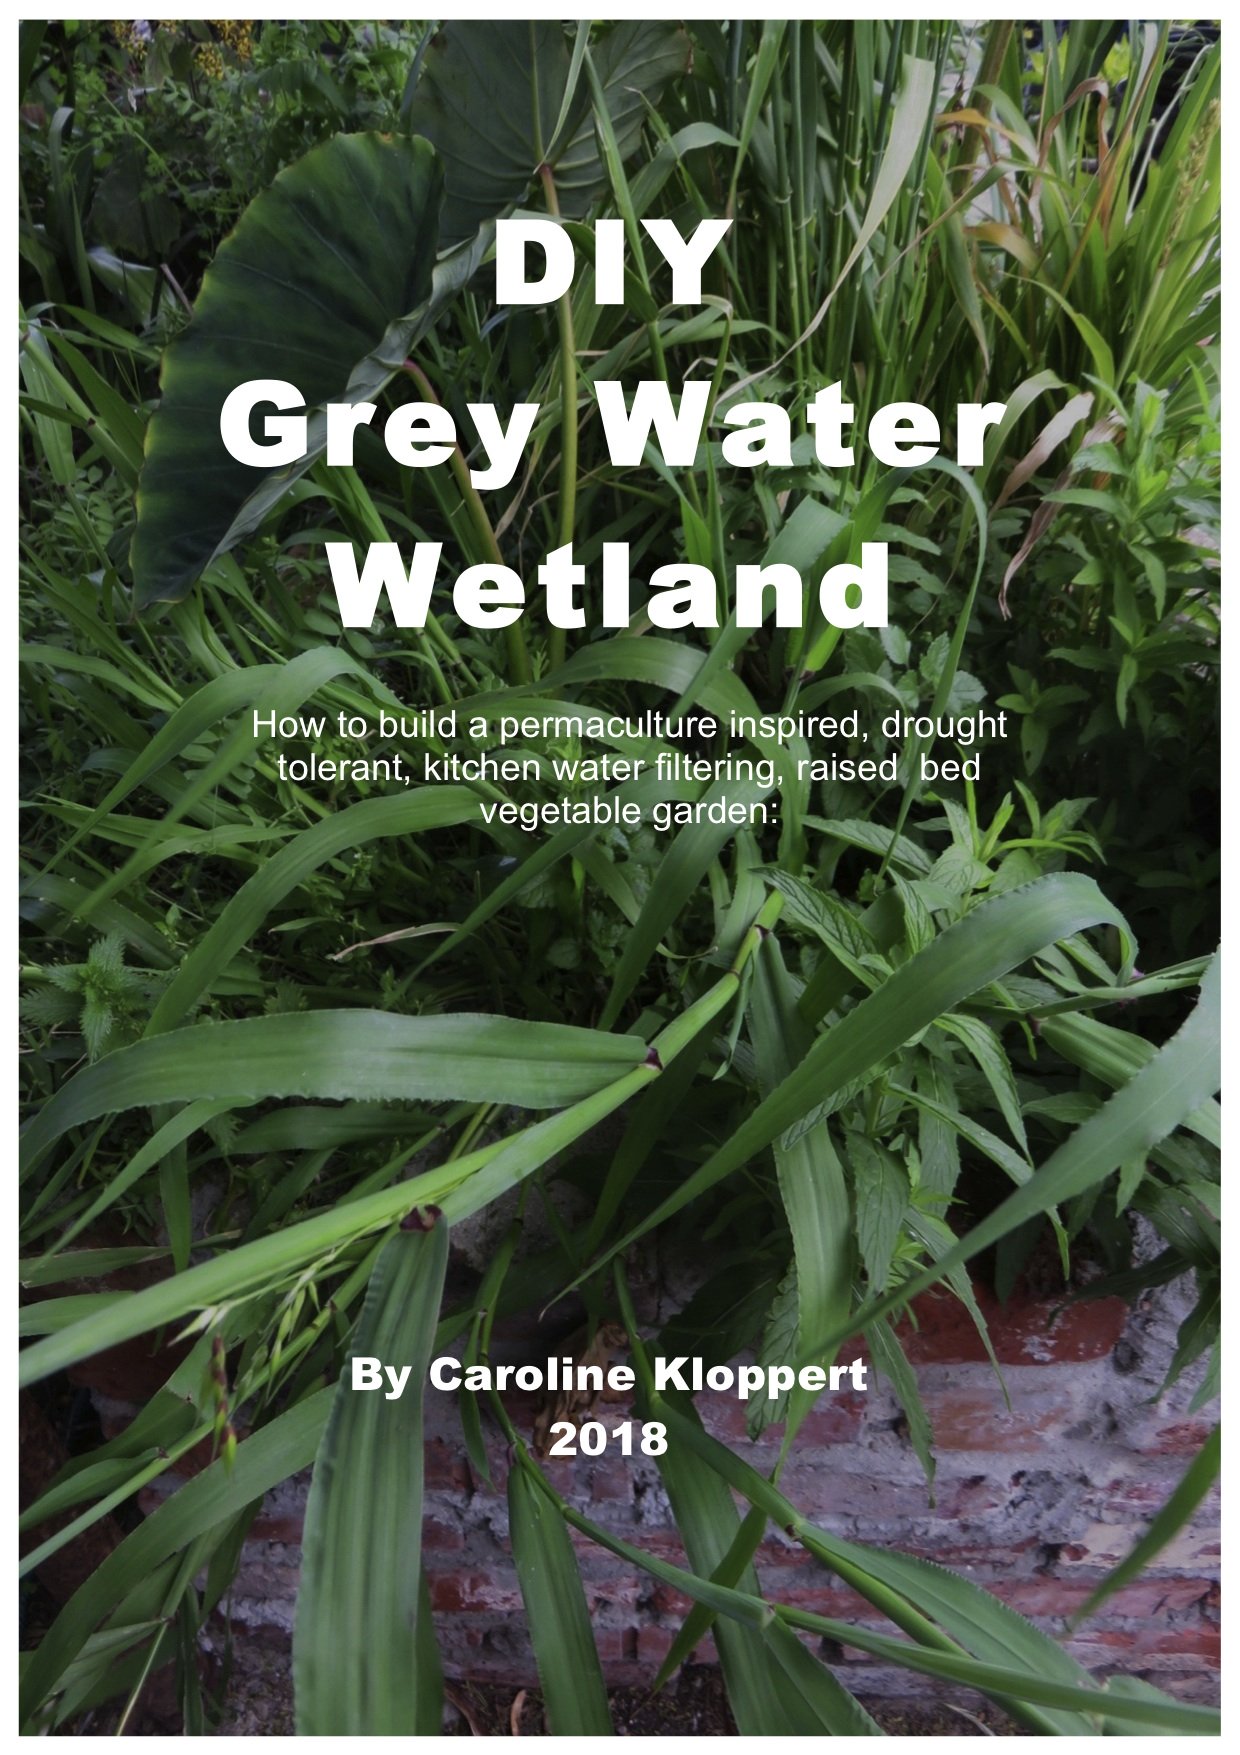
Fully Functional
DIY Worm Composting Bin
This article will show you how to set up a diy worm composting bin. The process is quick and easy and a fully functional DIY worm composting bin can cost you next to nothing.
When it comes to worm bins there are really not many demands that need to be fulfilled to make the worms happy in their new home.
- Worms need
- protection against predators, and flooding
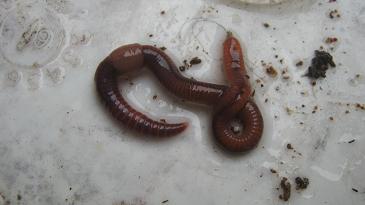
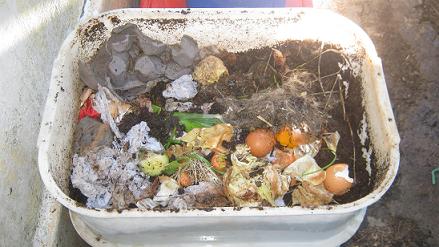
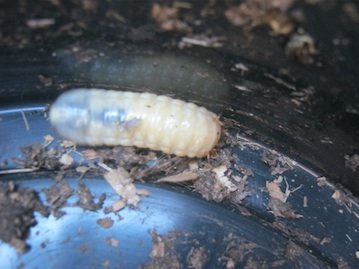
- food (organic materials like kitchen scraps or dog waste)
- some pH neutral bedding like old newspapers, coconut coir or corrugated cardboard which will act both as food and their living environment
- oxygen and
- protection against extreme temperatures
You can find out more about those easy to solve issues in the articles of the "Beginners guide to worm composting" that you can find in the top navigation bar of this website.
What containers can serve as a "DIY worm composting bin"?
Below you see a few examples of worm bins we had in our home and backyard for many years.

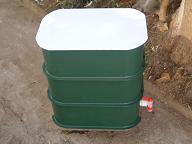
 80 liter / 21 gallon single worm bin
When it comes to worm bins there are many options open to you. A simple diy worm composting bin can be made of wood, plastic, bricks or even concrete blocks. Most domestic worm bins are made from plastic containers. They are usually easy to get hold of and quite durable. Another benefit they offer is the fact that unlike metal they don't heat up which helps to prevent an overheating of the worm bedding and food. If you are an experienced worm composter and you don't need to produce worm tea / worm leachate you might just use any plastic bucket or container with a lid and a volume of at least 5 gallons / 20 liter to get your worm composting process started. Just add some bedding and a batch of worms and you are ready to go. However the problem with these kind of worm bins is that they usually don't have any ventilation holes and that in case of over watering or unexpected flooding the worm herd could drown. Another problem could be overheating on a very hot summers day.
If you don't want to spend any money on your worm composting bin you can surely find a suitable (clean ie: no chemical or oil contamination ) bucket or container somewhere at home, in the cellar or the attic! To make it relatively foolproof for the worms all you need to do is
- drill one or more holes with a diameter of 10 to 25 mm / 2/5th to 1 inch near the bottom or your bucket which will allow excess liquids to drain out of your worm farm and prevent the flooding of your worm bin,
- drill 2 or 3 holes with a diameter of 5 to 10 mm 1/5th to 2/5th of an inch on two opposing sites near the top of your container which will act as ventilation holes.
A bin like this will be just fine if you just want to recycle some of your kitchen scraps with the help of compost worms.
Building a fully functional "DIY worm composting bin"

However if you are prepared to spend a little cash and about 15 minutes of your time on a really neat worm bin I suggest you build the model in the picture above. It consists of:
- 2 x recycled 20 liter / 5 gallon buckets that can nestle inside each other
- 1 lid
- and 1 tap / spigot with one or two washers
The tools you will need are
- 1 power drill
- 1 drill bit with a diameter of 5 to 10 mm 1/5th to 1/3rd of an inch to drill the ventilation holes and drainage holes.
- 1 hole saw bit to drill the hole for the tap (The bit should have the same size or be just a fraction wider than the base of the tap that you want to use)
If you don't have the right kind of buckets or containers at home source them as well as the tap. Make sure that your hole saw bit is the right size for your tap!
Once you got all in place
- Drill at least 15 to 20 drainage holes in the bottom of the upper / working bin that will hold the worms. If you can drill them in a neat pattern but that is not a must at all.

Drill the ventilation holes near the top of the "working bin" using the same drill bit.
 Working bin of a worm farm with 2 ventilation holes near the top of its side
Put the working tray aside for now and use the hole saw bit to drill the hole for the tap as low as possible into the side of the bottom / worm tea collecting bin. "Make sure you leave enough space at the bottom for the nut of the tap.
 Collecting bin of worm farm with hole for tap
Push or screw the tap through the hole. Then place the washer over the thread of the tap and tighten it with the nut.

 Nut of tap of the collecting bin of the worm farm tighened
Place the "working bin into the "collecting bin" and cover with the lid and you are ready to go. Once you got your worm bedding and worms place them into the working bin of your "DIY worm composting bin and begin to recycle your kitchen-, garden- and or dog waste.
A worm bin of this size is usually ok for one or two people. But if you have more waste either build another worm bin or use bigger containers still following the same principles.
How to start a profitable worm business on a shoestring budget
The Worm Bin Checklist:
"7 Mistakes Killing 90% of Beginner Worm Farms"
[Sign up below to Get Your Free Checklist ]
Recent Articles
-
Worm composting Advice?
May 08, 26 03:36 AM
Hi, Just checking if you're still around? I've been growing a thriving worm farm and need some advice. Thanks, Rezah -
how to start worm composting at home
Apr 29, 26 09:21 AM
 Learn how to start worm composting at home with this complete beginner’s guide. Step-by-step setup for a worm bin, best bedding, feeding tips, troubleshooting, and harvesting worm castings for superio…
 -
How to Start Worm Composting for Beginners in 2026
Apr 17, 26 08:19 AM
Learn how to start worm composting for beginners in 2026 with this complete step-by-step guide - Best worms, easy bin setup, feeding tips, maintenance, and troubleshooting
Search / Suchen
On SPECIAL
"How to start a profitable worm business on a shoestring budget
Order a printed copy from "Amazon" for only
$11.95
or a digital version from the "Kindle" store for only
$4.95
Prices valid till 30.04.2026
Our New Book
Order the Kindle E-book for the SPECIAL PRICE of only
$3.95
Prices valid till 30.04.2026!
